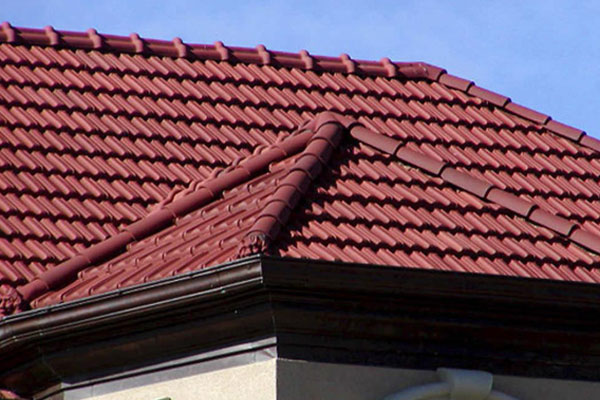
Tiled roofs first replaced thatched roofs in ancient Mesopotamia. Although house models from Indus Valley Civilization show that the houses were flat roofed, Harappan sites such as Alamgirpur (dated 2600–2200 BCE) provide evidence of roof tiles.
Fired roof-tiles occur from as early as the 3rd millennium BC in the Early Helladic House of the tiles in Lerna, Greece. Debris found at the site contained thousands of terracotta tiles which had fallen from the roof. In the Mycenaean period, roof tiles are documented for Gla and Midea.
>> Related Post: Considerations To Make When Assessing Steel Roof Contractors.
The earliest finds of roof tiles in archaic Greece are documented from a very restricted area around Corinth, where fired tiles began to replace thatched roofs at two temples of Apollo and Poseidon between 700 and 650 BC.
Spreading rapidly, roof tiles were within fifty years in evidence at many sites around the Eastern Mediterranean, including Mainland Greece, Western Asia Minor, and Southern and Central Italy. Early roof-tiles showed an S-shape, with the pan and cover tile forming one piece.
They were rather bulky affairs, weighing around 30 kg (66 lb) apiece – more expensive and labour-intensive to produce than thatch. Their introduction has been explained by their greatly enhanced fire-resistance, which gave desired protection to the costly temples.
You must be able to consult with different suppliers to get the best price for each material, you must also be knowledgeable of the durability of their materials as well as if they provide a warranty.
>> Related Post: Common roof problems that you should know.
- Removing old materials
- Reinforce your roof frame
If necessary, replace the removed old material to strengthen it.
- Install your roof underlayment
Underlayment is the protection of your home from leaks if your roof tile breaks. Therefore, you must know how to install the underlayment properly first before the tiles.
In installing your underlayment, it should be aligned and well attached. In adding underlayment to cover other areas, you must overlap to secure the connection of each.
Provide an extra layer to the roof edge and valley as this is prone to leaking.
- Install the battens
Battens hold the roof tiles in place, it runs horizontally along the length of the roof. In order to know the spacing between the battens, take two tiles and provide a minimum of 3 inches for tiles that do not interlock, consider an allowance for the overhang over the eaves.
>> Related Post: What To Know About Sheet Metal Roofing Contractors?
With your width, divide the distance you took and determine the number of battens you need for installation. Now consider this spacing in holding your battens in place.
- Installing your tiles
Install your roof tiles following the length of your roof. You can provide a mortar to give it additional strength. Do not forget the overhang allowance if working on edges.
Cut the tiles to fit in some areas. If done, install the ridge tile to finish the job.
Conclusion
Swadley Roof Systems offers the best roofing services in the Houston, Austin, San Antonio and Dallas area.
- Tel: 832-559-8463
- Email: info@swadleyroofsystems.com
- Location: 17413 FM 2920 Suite O Tomball, TX 77377
- Facebook: Fanpage Swadley Roof Systems
- Website: https://www.swadleyroofsystems.com/


0 Comments
Đăng nhận xét